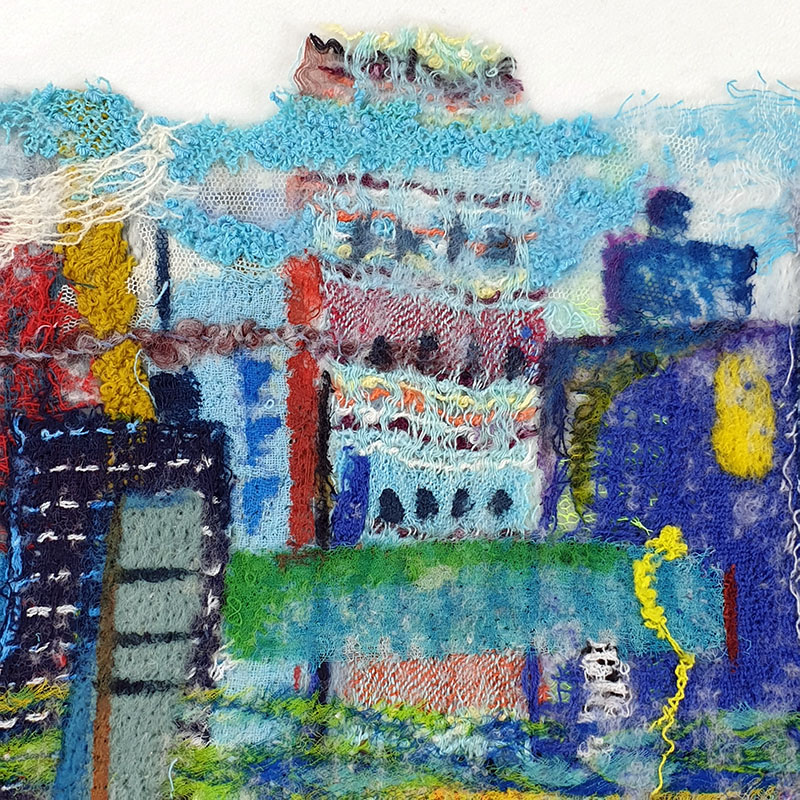
 Above: The whole cityscape so far plus a detail picture
Annie
This project isn't going quite as planned. I ended up laying out a far more literal picture than I originally intended and on top of that the white Merino fibres that I used for the background layers didn't want to felt at all! I think it may have been overprocessed or I was sent superwash by accident. Either way it presented an interesting problemette.
Despite not being what I planned I quite liked the layout and it has been a fun process so far. I'm just looking at it as a big sketchbook page which may get more experimentation done on it or it might not. It might get the scissors treatment. It could be "finished" as it is but I would quite like to add the stitching idea that I showed in the previous post on top just to see what happens!
It's very long compared to it's height (approx 22cm by 125cm) and is quite stiff to roll up into the machine space so machine stitching might be tricky. Have toyed with the idea of sewing side on to the machine....hmmmm....
Anyway, despite all my ideas I ended up laying out like this...
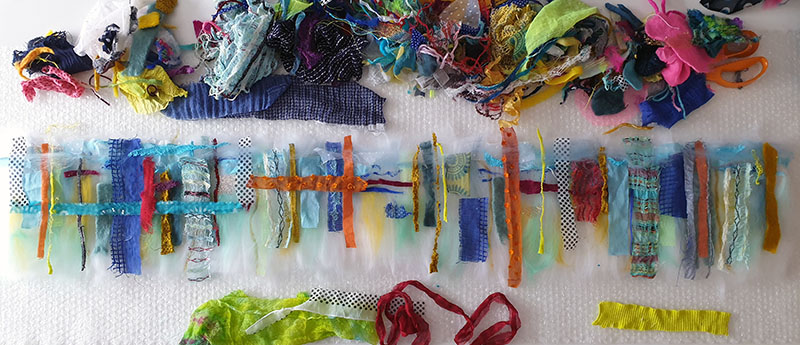
But got carried away as always...
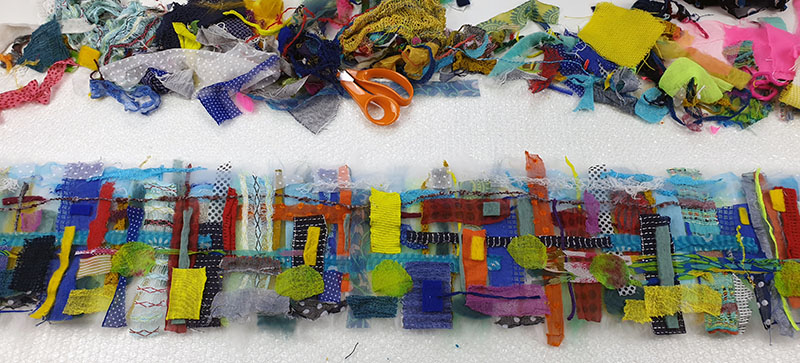
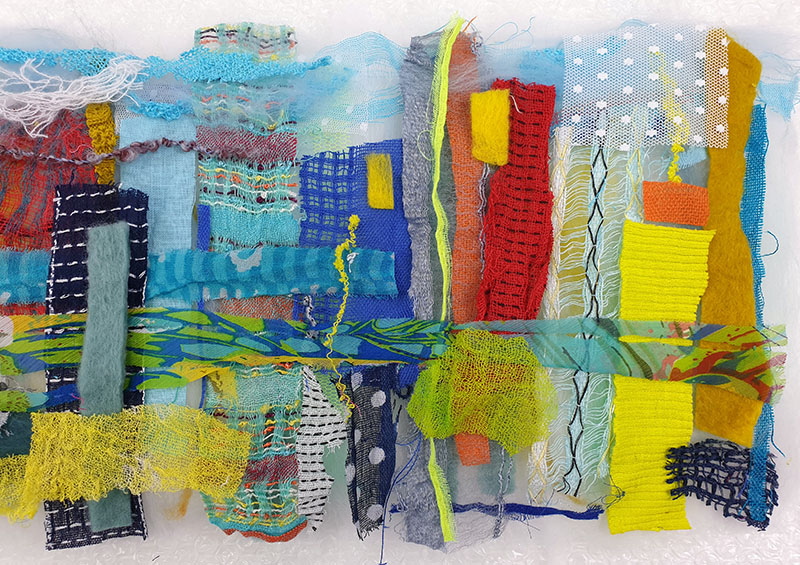
After felting close up it looked like this...
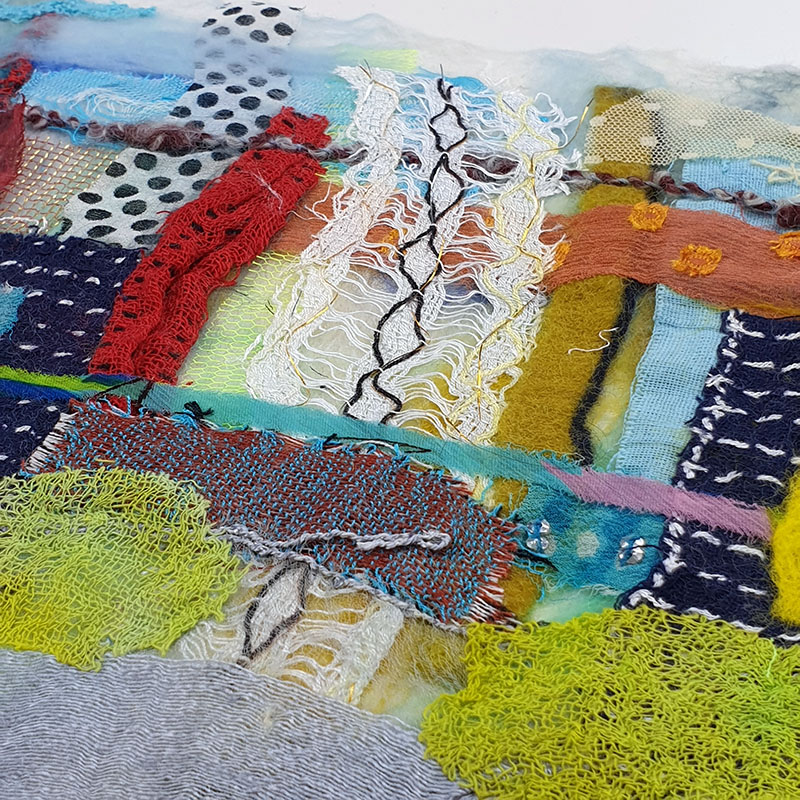
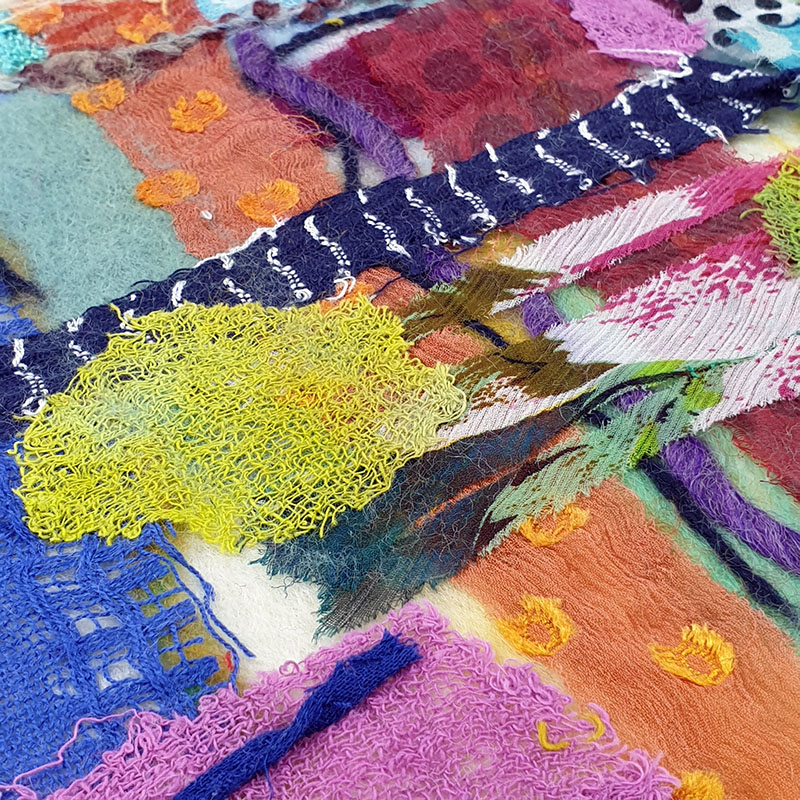
....arghhh! The white Merino fibres had failed to felt despite giving it a really good go. Most of the fabrics hadn't attached properly and the white background had not felted either.
So while it appeared to be "cooked" at a quick glace, any close inspection revealed that a lot of the fabrics were barely hanging on :( Very disappointing. I had tried for a long time to make it work, slowly and gently reheating and agitating but in the end I had to give up.
So I decided the only thing to do was to use the embellisher on it! I haven't got enough patience to do something this size with a hand needle and even though I risked "mashing it up" with the embellisher it was my preferred option. Happily it worked out OK.
I went from the back first to push the Merino up through the fabrics then back down on the front to flatten it and lose some of the white that had come through.
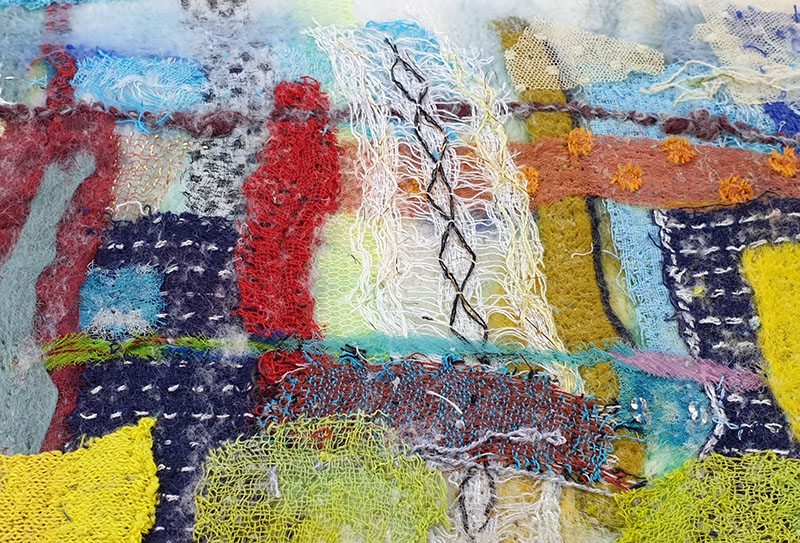
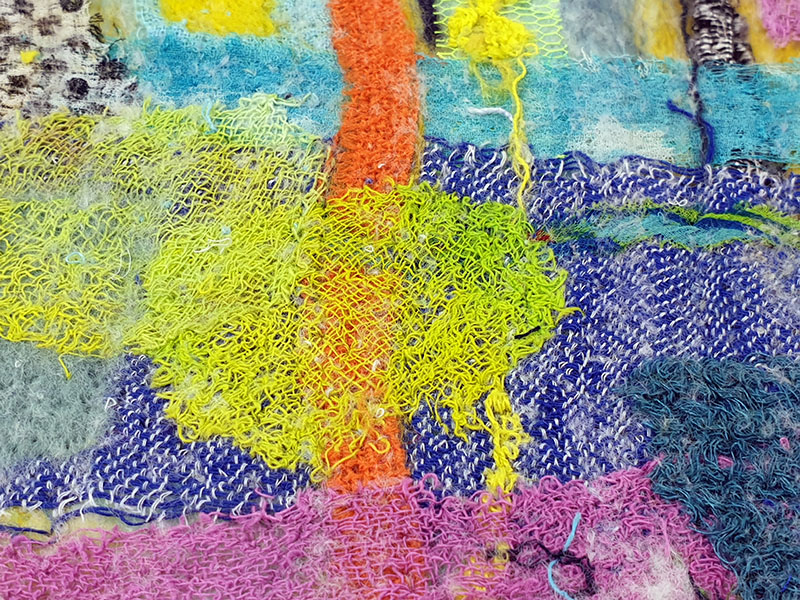
However, some shapes stayed standing right out (like the yellow block below) while others disappeared too much...
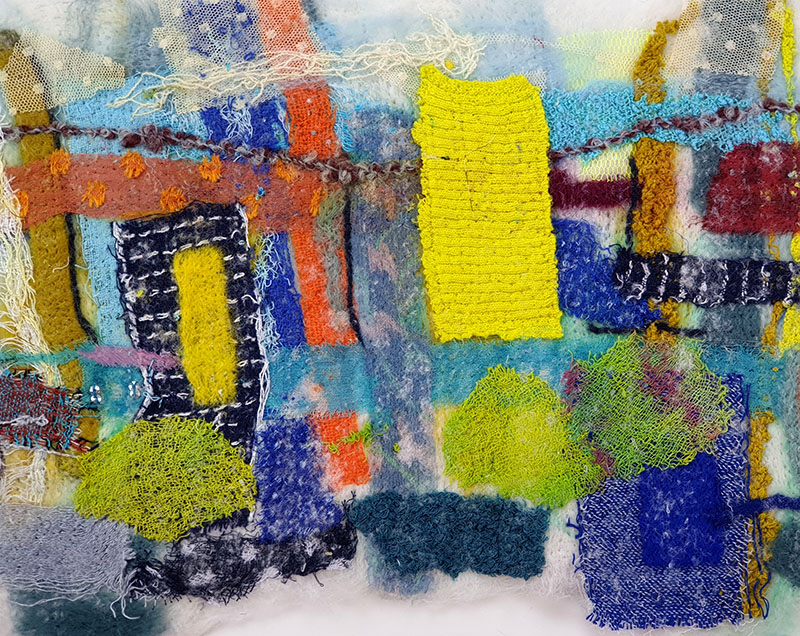
Had I known I was going to be using the embellisher I would have layered more colour under some of the "buildings" etc so that loops of interesting colours would have poked through. I did get some of this effect with what I had laid out but not much. I supposed I could have just put it on the back but it was too late by the time I thought it through and it would have been a faff anyway!
Most of the best of the loops are on the back annoyingly!
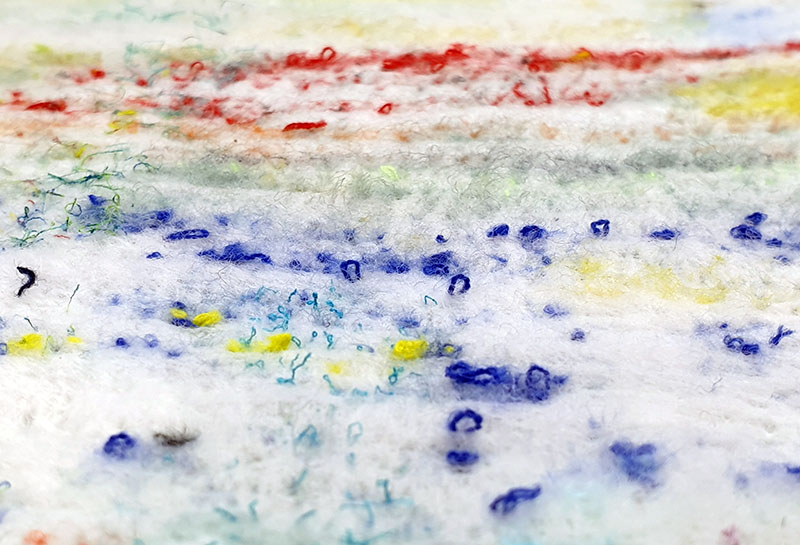
Next I decided to cut round the edge to give some definition to some of the shapes and then I ironed it onto some iron-on stabiliser because it felt a bit flimsy round the edges.
Still it wasn't quite right. I felt like it was a bit pale in some places where a lot of white Merino had come through. What next??.....paint and ink!! It had all gone wrong by now anyway so it was worth a go.
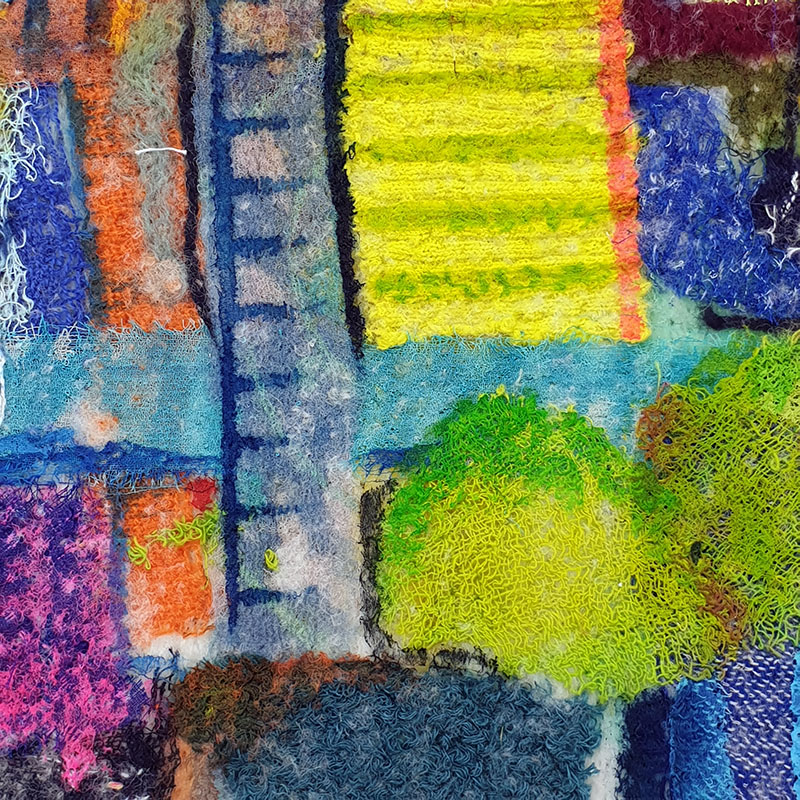
I added quite a lot of paint mostly in little details but also in some block shapes. I think it looks OK now, but it's hard to see in the photo. I tried to take a panorama photo but it was tricky to get it straight!

Here is a section up a bit closer:
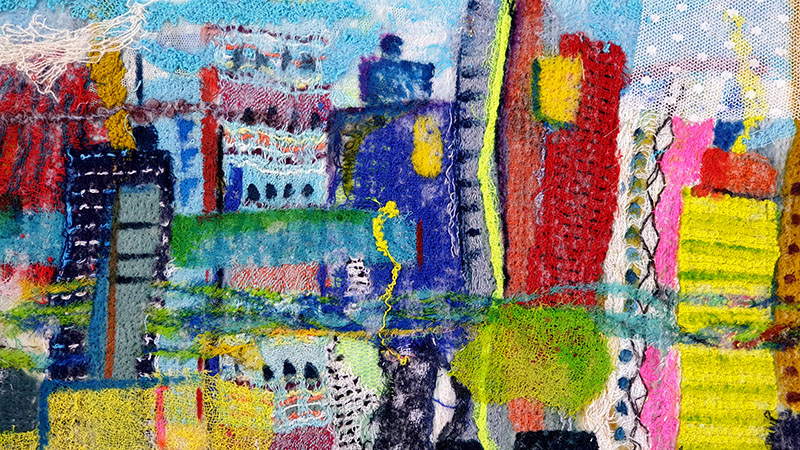
and a section including what I like about feltmaking....an unplanned "river" that appeared...
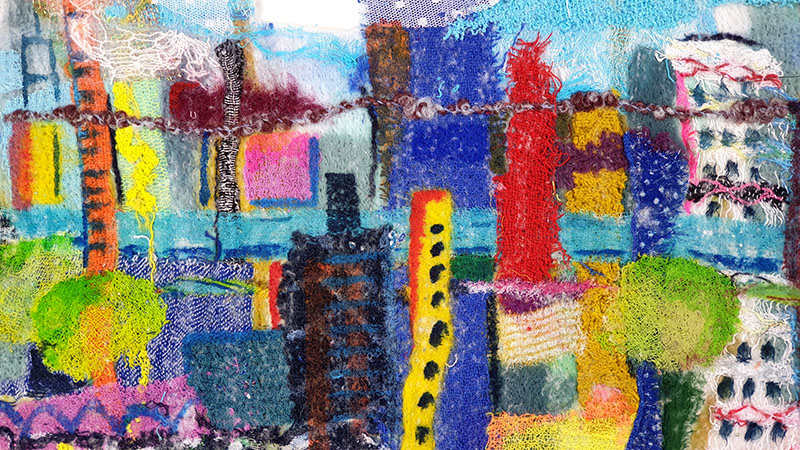
...and an unplanned "bridge" :)
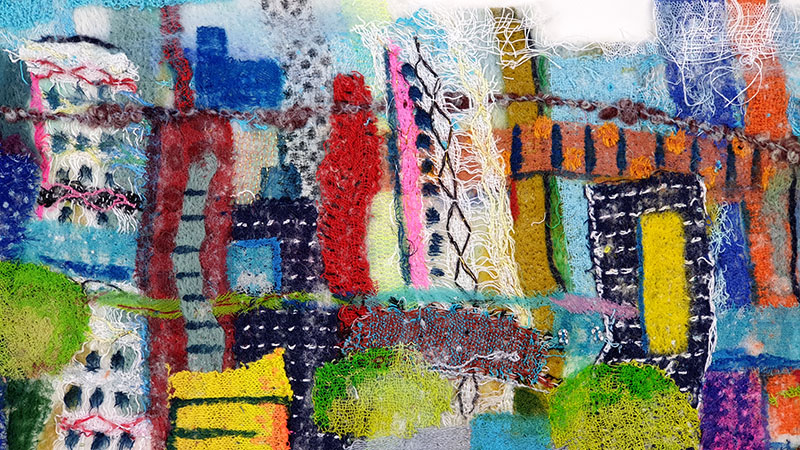
It's not exactly a fine work of art but it's been a great experiment and like a big "sketchbook page". It could possibly do with some stitching on top to see what happens - this is not a minimal, less is more situation! But first I'll just let it sit on the pinboard for a while so I can think about it. Meantime I will make some more pieces and try different things. It's refreshing to have had a new subject to work on and it has thrown up some interesting problems and has generated a whole new load of ideas :)

