Photography of felt is difficult at the best of times, but now the days are shorter and darker it's even more tricky, so we've been thinking a lot more about it while working recently. We thought it would hopefully be useful to share some of the processes we use and things we have found out along the way.
A good photo is doubly important if you want to sell your stuff online. You need a good photo because a picture is worth a thousand words...but not if it's blurry!
It doesn't matter what kind of camera you have, these tips may help to improve your images.
Keep the camera still to get a sharp photo.
The easiest way is to use a tripod and a remote shutter release or the camera timer.
If you don't have a tripod, place the camera on a firm surface, perhaps a table, step ladder or a pile of hardback books, then when you've set up the shot, press the timer on the camera to take the photo.
This will eliminate any movement of the camera at the time of the photo being taken.
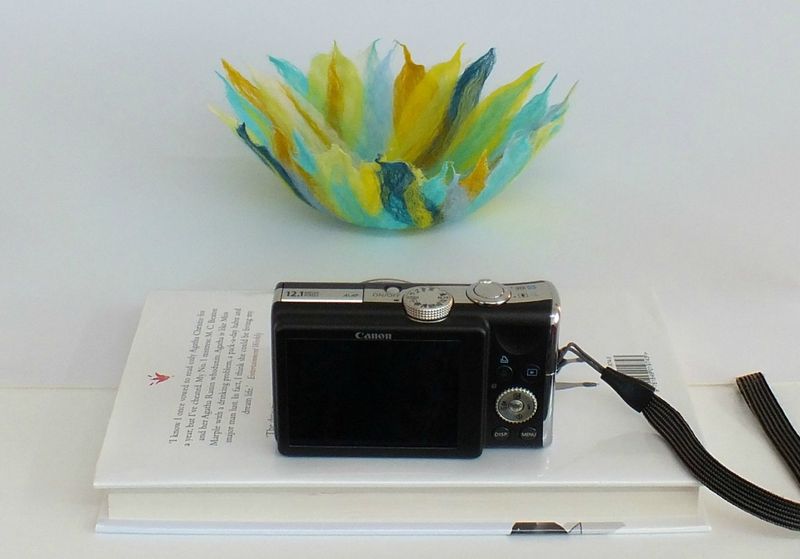
Get up close so that the detail is clear.
Place the camera close and experiment with different angles - don't always take the photo straight on or directly overhead...
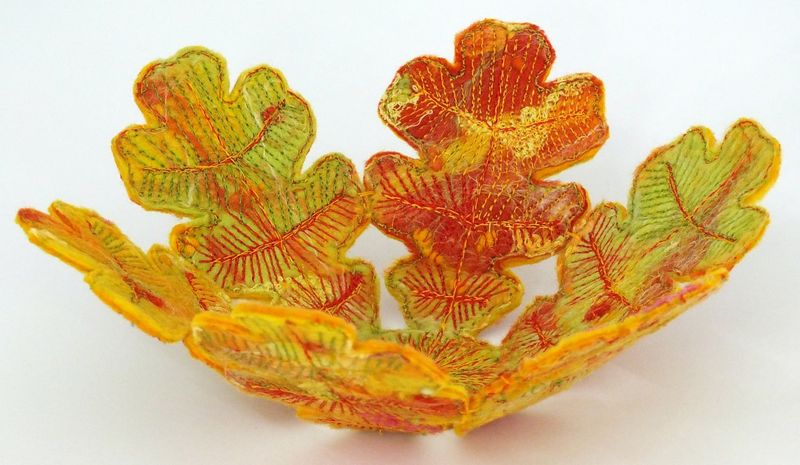
...and you don't have to get the whole object in the frame.
Choose the backdrop colours carefully.
The garden can make a pretty backdrop...
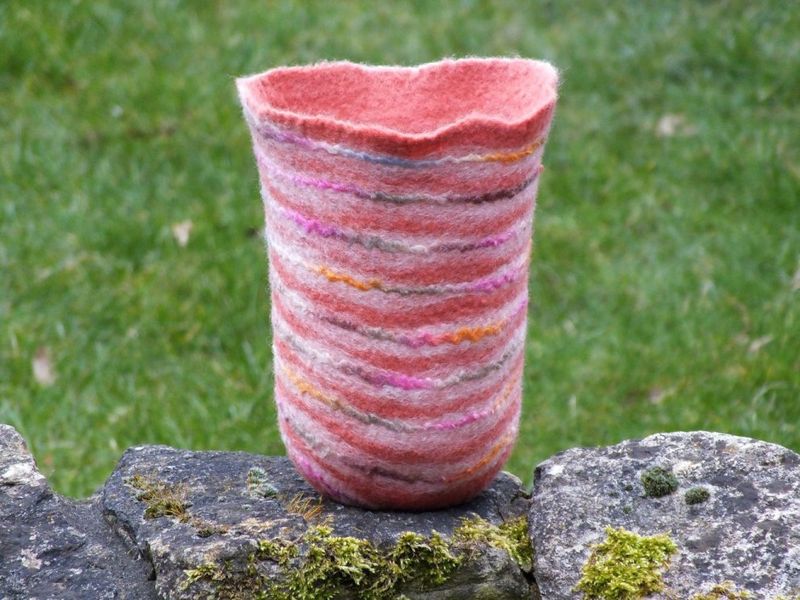
...but it's not always possible to find complementary colours and bad weather may force you to take photos indoors.
If you want a seamless backdrop, get a large piece of card (thin mountboard works well) and bend it, without creasing, so that it forms a gentle curve between a table and a wall.
It will need anchoring in place. In the photo below, two heavy ornaments were placed on the front corners of the mountboard to prevent it from slipping away from the wall.
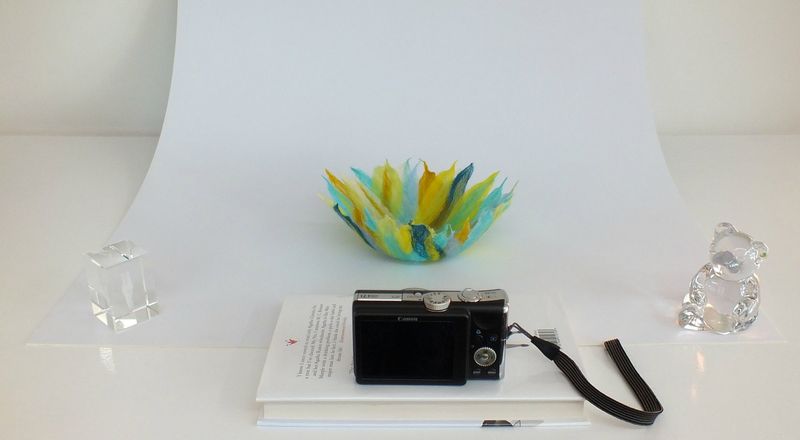
To add interest, use props such as a rock or stones, or use an indoor windowsill with a pretty view.
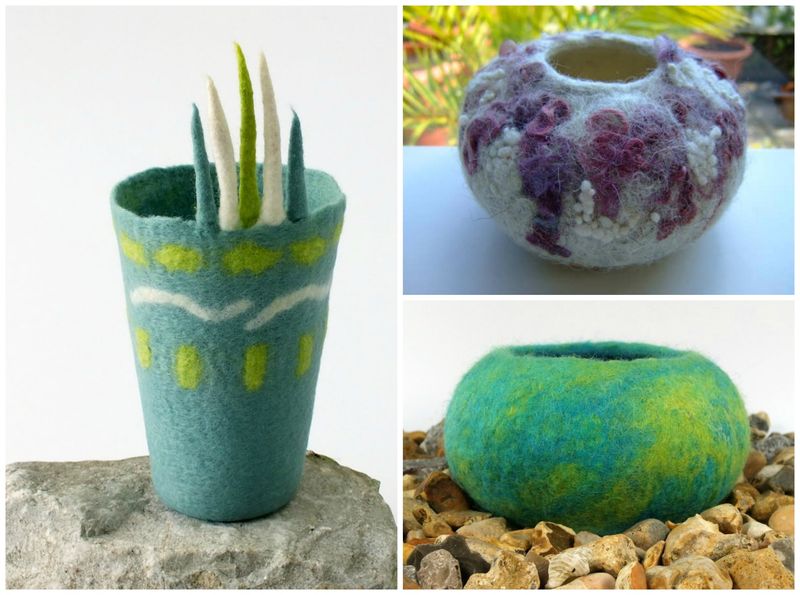
Make sure you have enough light.
Naturally diffused daylight, outside, gives the truest colours. Strong, direct sunlight will 'wash out' colours and textures, and shade is sometimes too dark. The ideal condition is a cloudy day around midday. However, when weather conditions are far from ideal, a mini-studio can be set up indoors.
If your item is small enough, use an indoor windowsill, or make yourself a 'light box' from a cardboard box - there are plenty of free tutorials on the internet to show you how.
Larger items will need to be photographed in a room that has a lot of natural light. Lucky you if you have a conservatory!
You can boost the daylight that comes into a room by covering dark furniture or walls with white sheets and by using lightbulbs that mimic natural light. They are sometimes called 'full spectrum bulbs' and may be labelled 5,500K.
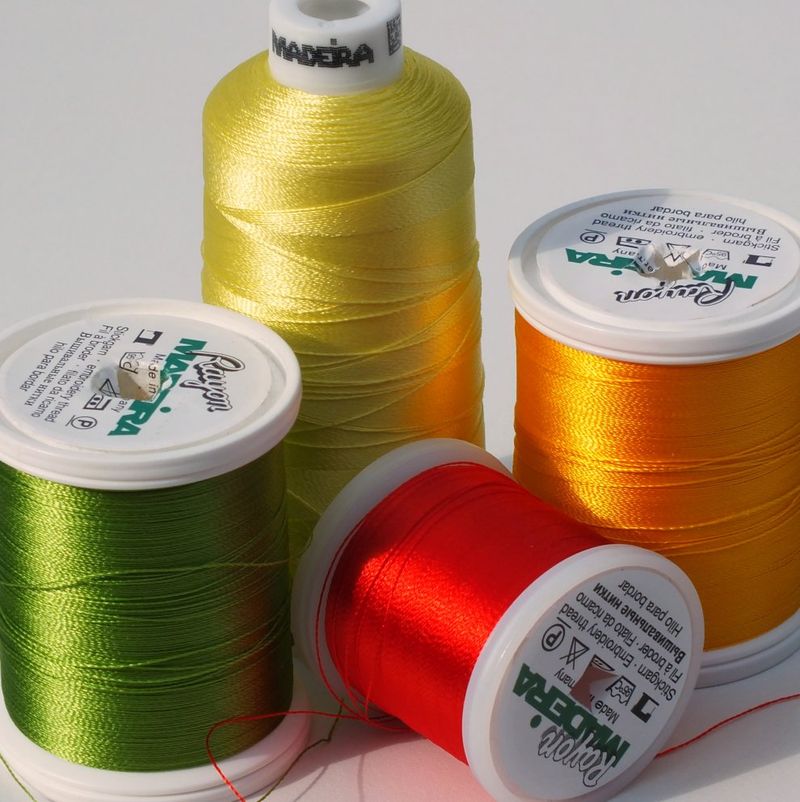
The light that enters a room sideways from a window can add a glint if you are photographing something with a reflective surface (as on the sewing threads above and the mug below) and the shadow on the side furthest from the window adds depth.
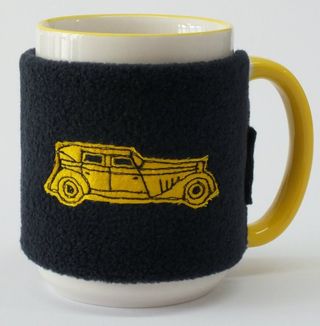
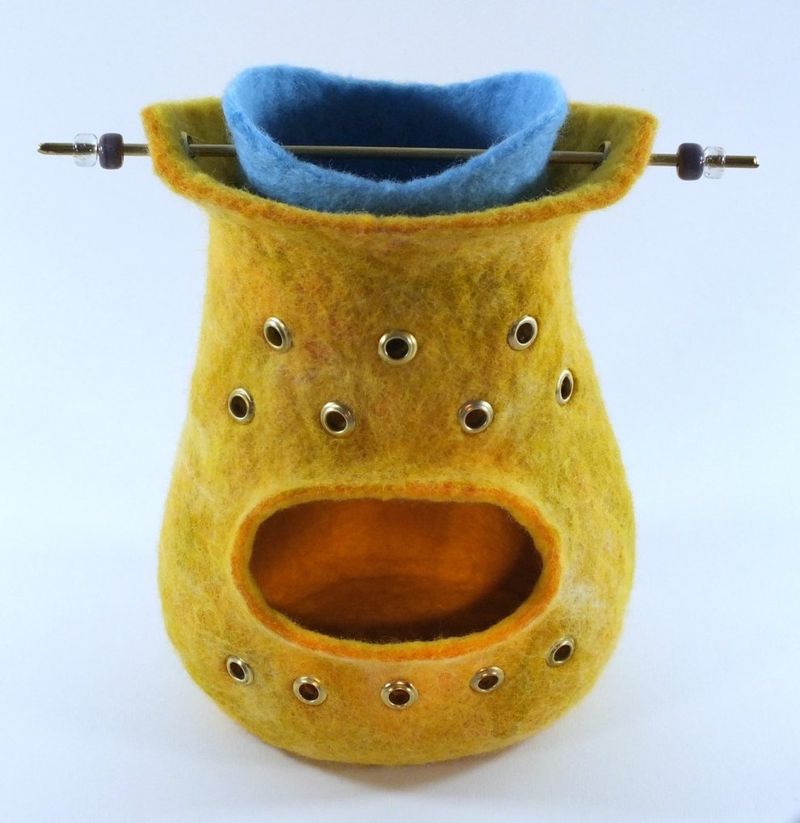
Fiddle around until you get the shot you want.
The felt 'oil burner' looked good with an l.e.d. candle inside but the artificial flame didn't photograph very well (perhaps because it flickered) so we removed the candle but then the oil burner looked lifeless in the photo. We fiddled around and discovered that if we shone a torch into the hole, it gave the impression of having an internal light and we were pleased with the final photo.
We took a felt bowl into the garden to photograph it and after half an hour we still hadn't got a decent shot. We'd taken a reflector out with us (a piece of cardboard covered in aluminium foil) because the light wasn't that good. We moved to different parts of the garden trying to get a good photo and during one move we put the bowl onto the reflector board to carry it...and accidentally found the perfect backdrop.
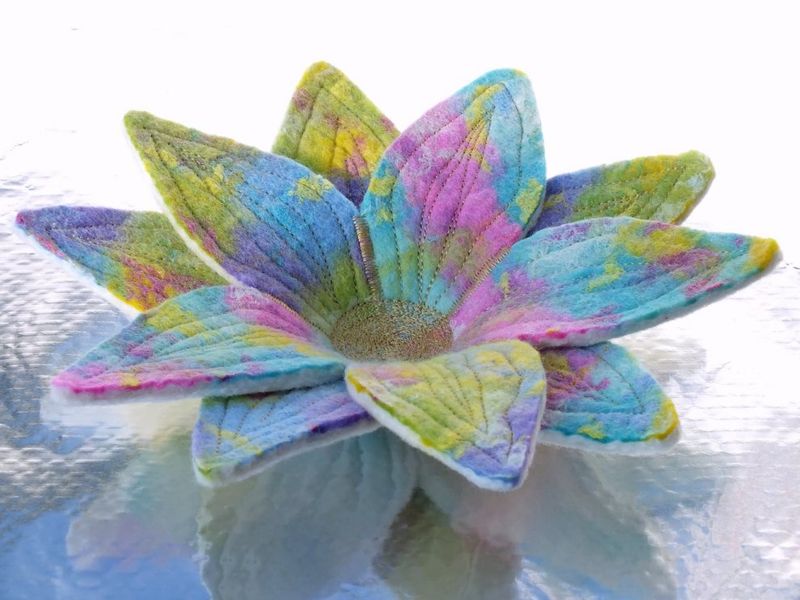
Serendipity has given us some good photos!
