Posted on Monday, 17 July 2017 at 11:05 PM | Permalink | Comments (7)
Annie
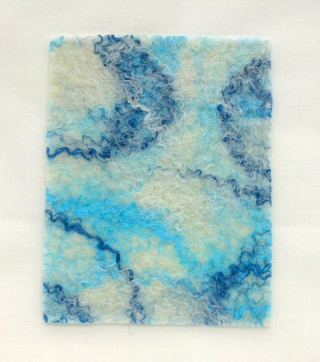
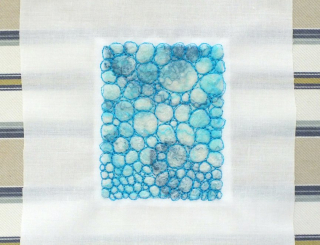
One of the things I love about flat felting is that even if you approach it really randomly, say when trying out new fibres or fabrics or other inclusions, you quite often end up with something that you can turn into something else like a small picture, greeting card or an interesting bit to chop up and use in the next picture. The picture above of a cliff top is just a tiny piece cut from a bigger sample that was not intended to be anything except a sample which included using silk under merino.
I hacked together a little wooden frame that I painted white. My woodworking skills are really lacking - although it probably didn't help that I tried to saw the bits up balanced on the end of my sewing table rather than finding a proper bench or something to hold the wood with. It's quite sweet though I think and you gotta try these things!
I haven't made many big pieces recently but instead I've been enjoying just sampling and experimenting and collecting my thoughts. Probably I have collected too many thoughts (and photographs and sketches and scraps of paper!) but better to have too many than not enough!
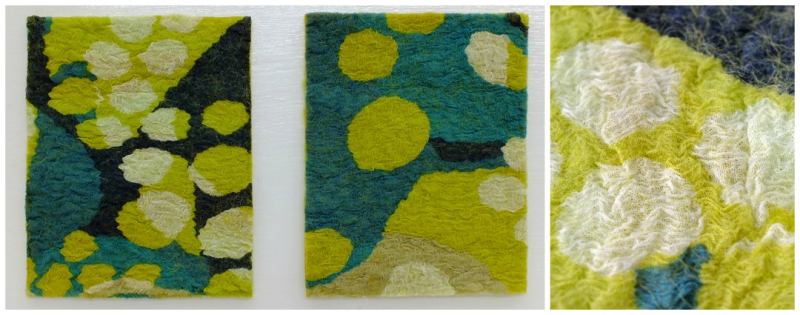
I got my rotary cutter out and chopped some shapes from some of the pieces of felt that I had made for various reasons, some that had been to try out fabrics and some just to see what happened. I used a homemade cardboard viewfinder (basically two right angles of white card that you can hold close together or further apart to get a bigger or smaller aperture) to pick out interesting bits. I found several sections from odd pieces that started off as samples with no plan, that could now either be used as they are, maybe as little landscapes in a tiny frame or on a greeting card, or cut up or stitched for further experimentation. Maybe they are beach scenes, flower pictures, or perhaps backgrounds for stitching practice:
Some of them I left whole to play with. Like this bit...
...that I decided looked like a forest of tall trees. I added lichen and moss with stitching but I haven't finished with it yet (possibly I'll push it with machine embroidery to see what happens). In this sample I was testing out some new strange yarn and as it looked like a forest of tall thin trees I thought I'd go with that in a sort of abstract way. I've taken lots of photos over the last few years of straight tall trees in the New Forest so they must have been on my mind when I looked at it. I love the colours of all the moss and lichen that spreads across the whole forest. It's impossible to count all of the greens and yellows. I especially love the more acidic ones as they really make a scene or a picture pop.
Maybe this one could be a riverbank? This one I left whole because I liked the fabric hanging off the bottom. I also really like the thin white felt with a hard edge but that is also slightly see through. I might make a big sheet of that for adding highlights and structure to pictures. I had only been trying out ideas like seeing what the dark blue open weave scarf that I had stitched chunky yarn into would turn out like and also if the tropical print fabric from an old top would felt in well.
While stitching the trees picture I remembered how effective couching can be and remembered I had scribbled a page in my sketchbook recently to capture some ideas about different ways to couch. I will have to sample some of those soon. I find hand sewing really relaxing once I let myself get into it.
In the bigger book behind I'd been practicing taking the pen for a walk and at the same time practicing making imaginary flowers with a single pen line as far as possible which is useful once you get on the sewing machine. I wish I would do more in sketchbooks, it's a great way of getting ideas down quickly for textiles. I can't always get ideas down fast enough in fibres.
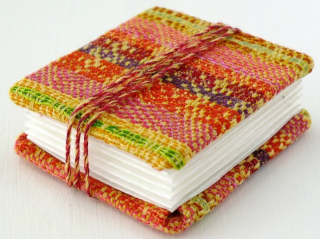
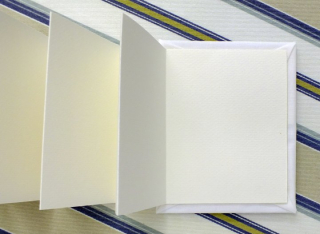
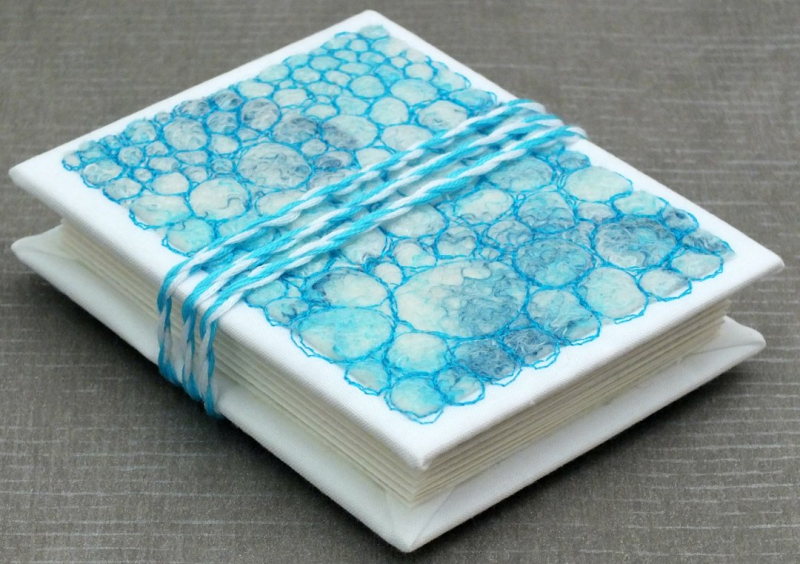
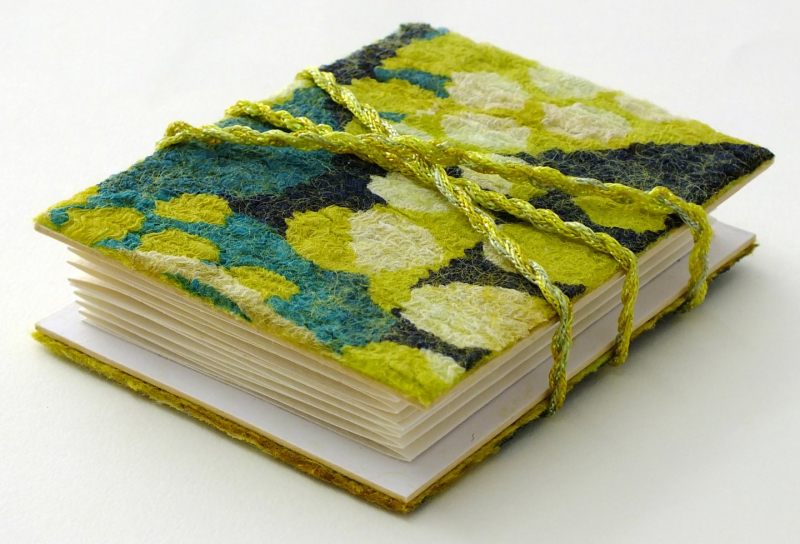
I recently went on a beginners bookbinding day workshop and now of course I want to make my own sketchbooks / scrapbooks! I haven't progressed with organising my textiles scrapbook yet, but it will come when the time is right.
I want to use some of the photos I've taken over the years to feed into my work too. Periodically I attempt to sort out my digital life although it always seems to be a losing battle! However, I'm currently embarking on another go at it! Has anyone else got thousands of photos of flowers, bits of trees, railings, sea gulls, beaches, beach huts, various interesting looking odds and ends and patterns that they took with the intention of using in their textiles work? My friends have finally got used to turning round to see me still listening to them but crouched down taking a photo of a leaf on the pavement or pondering the sky and looking at the shapes in the clouds or the cover of the trees. One of them recommended a book recently for organising and focusing a creative mind. Maybe I should take the hint! :)
Posted on Tuesday, 27 June 2017 at 02:02 PM | Permalink | Comments (8)
Lyn
My thanks to Rosemary (Tess DB) on the WetCanvas Forum for demonstrating how to draw a quadruple Celtic spiral.
Using her pattern, I placed wool yarn onto both sides of my flat, circular resist before adding the layers of white wool, and the quadruple spiral can clearly be seen on the bottom of the pod ...
... and on the top of the pod, even though I cut out the middle bit during the making ...
... but alas, the quadruple spiral isn't visible from the traditional side view of the pod :(
Still, never mind, I do enjoy making pods and there are lots more decorative ideas to try I'm sure!
Posted on Monday, 05 June 2017 at 04:45 PM | Permalink | Comments (12)
Click here to find out more :)
Exciting news! Since we produced our e-book, we've had a lot of requests for a paperback version of 'Creating Felt Artwork' and we're pleased to say that we've found a viable way to produce a printed version with Amazon's Createspace 'print on demand' service. Yay!
Here are some pics of the inside:
We know it's the same as the PDF version (which has been slightly updated), and even though we published it ourselves, it's still an actual real book and we are quite excited about it!
Click here to find out more :)
We've had so much great feedback about our original e-book version over the years so it's good to be able to offer it in paperback. To everyone who reads our blog and has supported us so far - thank you! :)
Posted on Tuesday, 30 May 2017 at 02:38 PM | Permalink | Comments (2)
Annie
I've been enjoying making new craft supplies from deconstructing old things. The flowers in the little picture above are made from coppery bits from an old necklace that had seen better days and the edging is some more copper wire that I rescued from the electricians when they were here last week. Waste not, want not!
For the background I started with a piece of my handmade felt that I've clearly attacked before:
Then I machine stitched on some background stems before adding the jewellery bits and some beads and hand stitches. It's only about a 6cm square but I like making tiny pictures as they are quick and easy to experiment with. It means I can actually finish something in a couple of hours and it's in less danger of becoming an Unfinished Project!
I've also taken to stripping colourful strands of fibre from the fabric samples I had left from years ago to re-use in feltmaking, as many of them are too thick to use as they are but are interesting when deconstructed, and have also found that cutting thin pieces from the arms of a close knit (ruined) cardi and stretching it out produces great lengths of interesting pieces to felt in, not individual strands of yarn but a highly textured, springy cord of 3 or 4 strands. I'll have a go at felting it in and see what happens. It's good to have a play!
The pieces of cardi might look good just roughly stitched on too - I auditioned it for the border of my pic but went with the copper wire in the end:
Although there is an abundance of new craft supplies on offer - of which I do buy many! - there is something satisfying about making something new using something old. It adds to the character of the piece too. I probably wouldn't have bought slightly rusty flower beads from a craft shop but somehow getting the pliers out and dismantling an old necklace made me look at it differently.
I've got all sorts in my pile of things to try and also lots of bits on the go that I haven't finished in a kind of "pending further inspiration" pile. Here are some photos of little bits that I started making from felting my handspun yarn on a base of Merino fibres, to which I added scrim and other bits with the embellisher and felting needle:
I love the effect of the fibres but haven't quite decided what to do with it all yet. Some of them do look wonderfully beachy with all of the colourful bits that look like nets and ropes etc that you find washed up. I was rummaging in the pending pile because I've just been on another lovely spinning day and it reminded me what I had started after the last session, and that I hadn't posted since then!
This time I made a little skein of yarn from random odds and ends that I gathered together that morning and took with me. It was great fun. I had no plans for colours or anything I just wanted to chuck in as much stuff as possible to see what happened, and be happy as long as it held together! Here's what I made:
I tried to use some really short staple dyed green Shetland wool to start with and I ended up with lots of little broken bits until I carded it with some longer odds n ends like lime dyed silk and other longer wool fibres and then I ended up with a knobbly random yarn that I plied with a mainly Merino yarn. It's only a tiny skein of about 20 metres but it was fun to make, and it's plenty for using in felting. Productivity wasn't high but we had other things to do too like scoff cake and natter a lot! :)
Posted on Monday, 22 May 2017 at 10:47 AM | Permalink | Comments (4)
Lyn
The current challenge on the Felting and Fiber Forum is to make something inspired by early Celtic art. The early Celts certainly liked etching spirals into rocks so I played around with spirals and made this picture by combining wet felting, needle felting and free motion stitching. It's 28 x 20cm (11"x8").
I hope I haven't provoked fate - Mr Snail makes a pretty picture but I don't really want him eating the plants in my garden this year!
Posted on Tuesday, 16 May 2017 at 08:28 PM | Permalink | Comments (6)
Posted on Friday, 31 March 2017 at 05:15 PM | Permalink | Comments (6)
Lyn
Last year I took part in a one-day 'Easy Way to Paint' acrylic workshop - the tutor had developed a fool-proof way of using acrylic paints to make grasses and flowers so that everyone in her class went home with a pretty painting - just the kind of class I like!
Here's my finished canvas from the workshop:
Lots of amateurish daubs and splatters but it was great fun to do and I like the colourful, happy picture.
It's been cheering up my craft room all winter and I've been inspired by it to make a felty version - it's wet and needle felted with the brightest wool colours I have and it's stitched to white mountboard and has a white frame. The felt is approx 43x35cm (17"x14").
So it's down with the autumn/winter picture in my hallway and up with the spring/summer one!
Posted on Sunday, 26 March 2017 at 04:50 PM | Permalink | Comments (14)
"filzfun" magazine is packed with diverse articles of interest to felters worldwide. In the current issue you'll find: Judit Pocs (felt artist), Lisa Klakulak (Stongfelt), Terese Cato (needle felter), Stefanie Holzgrawe (felt urns) and many more.
Here's our copy of 'filzfun' with the English supplement - we were thrilled to see Annie's embroidered felt on the cover.
We were pleased to be asked by the "filzfun" editor to write a tutorial for felters who wanted to make 'something a bit quirky', and as it was to be for the issue being published in late February, our thoughts were of melting snow and delicate spring flowers.
We played around with ideas and prototype pieces of felt to design a 3D table runner. It's mostly made by wet felting but needle felting was essential in the final stages. You can get an idea of scale from the photo below ... yes, it's posed, we weren't actually using those felting needles because we'd finished the piece!
We like the reflections created by the flowers when the runner is placed on a polished table...
...and we reckon that variations on this theme would be fun to try!
Posted on Monday, 13 March 2017 at 05:15 PM | Permalink | Comments (10)
Lyn
Almost two years ago, I made a felt fish bowl ...
... and I've been very happy with it, however the fish must have been restless because they made a break for freedom - but I managed to catch them all!
When I made the original piece of felt for the fish bowl, I made one side more deeply coloured than the other so the fish above are a nice mix of both deep and paler colours.
My plan was to make a mobile with the fish and a coaster from the bowl's centre. I showed my idea to my friend Joan and she suggested that I use the bowl's centre as the top of the mobile from which to suspend the fish. Why hadn't I thought of that?
So I played around with threads and started to make the mobile, but I wasn't happy with it. I took a photograph to view on my monitor because sometimes it's easier to see your mistakes that way, and I don't know what made me do it, but I rotated the photo 180 degrees.
And that's how I got the idea for the sculpture.
The fish are firm because I fulled the felt completely then applied free motion stitching so I only needed some lightweight wire on them. Here's a close-up of the wiring:
I also made a few stitches where necessary to keep the fish together.
I suspended the felt, on a nail in my wall, by using the wire on the back of the fish. It made a lovely wall panel!
I was reluctant to take it down but I had the bit between my teeth so I pressed on. I added more wire and found that I could fashion the school of fish into various shapes so that I could have made different sculptures had I wanted to.
I made the base by wiring the bowl's centre to a metal jar-lid and my husband helped me to fix a metal rod into it.
I loved working on this project - it's satisfying when your original idea morphs into something you hadn't set out to make!
Posted on Sunday, 19 February 2017 at 06:10 PM | Permalink | Comments (10)